


DIY project life card: yellow vintage

My new DIY card serie is all about vintage and coffee. I have a lot of friends meeting this month and we will be drinking a lot of coffee. It's winter, it's cold outside! Cafeine and friends is sometime all you need to create yourself some great little sunshines in this grey weather, right?
The perfect stamp set for this cards serie is without doubts one of my most favorite released by Stampin'Up! : Timeless Texture.
It's a new stamp set from the spring/summer catalog and I am in love with it ;) I love all grunge/vintage stamps set, I could not miss that one!
This is the release of this first card with a little tutorial.

- Material used for this card serie
Timeless Texture stamp set
Project Life This is the life stamp set
Writting notes stamp
Banner punch
Sponge dauber
Washi tape (scrap pieces)
Left overs cardstock
Inkpads
- Color combo
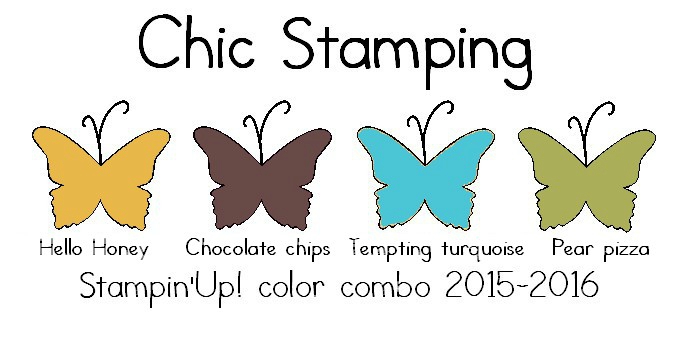
- How to create this card:
- Cut a 4 x 3 card in whisper white thick cardstock.
(I love this new cardstock!, it make the cards much more sturdy) - Stamp around the card with Hello Honey using the stamp off technique.
- Stamp again around using Pear Pizza (do not stamp off ). Let it dry completely! (that step is very important)
- Use non sticky* washi tape to cover your background, all the surface you just stamped, all 4 sides. (here only 2 shown but you need to go all around)

non sticky washi tape. Take a piece of washi tape and tape it on cloth towel, press hard. Remove it, tape it again. It has to stick but barely stick. You should be able to remove it very easily. If it's too sticky, and especially after using ink that didn't dry well on your card, when you will remove the washi tape, your card will peel off! So be carefull to let it dry well first. It happened to me many times ;) - Ink your big stamp with Chocolat chip ink and stamp off by using a printer sheet. With my big backgroud stamps, I never stamp directly to the paper. I place the stamp on the table and use this technique instead. The result is much more precise!
Place your card on it, then your scrap piece of printer sheet again and rub gently on all the stamp surface..


- Remove the washi tape and stamp the coffee marks , using again the stamp off technique. Stamp the sentiment with Memento black.
- Cut with your Banner punch 4 little banners in different colors, and one strip using your trimmer and voila!
The mini stars are coming from my trash "i can use it later" and were punched with the Confetti Stars border punch.


I hope that you enjoyed this mini tutorial on who to create lines on your journaling cards. The 3 next cards are coming in other blogposts. If you don't want to miss them, I made a little explanation on how to subscribe to my newsletter here.
To see all my other DIY cards , you can jump right there ;)
If you have any question or would like to place an order, leave me a little comment below or contact me at adeline7674@hotmail.com.
Thank you for your visit, next card coming soon ;)
Happy Stampin'


/http%3A%2F%2Fstorage.canalblog.com%2F47%2F41%2F791036%2F110316467_o.jpg)
/http%3A%2F%2Fstorage.canalblog.com%2F86%2F22%2F791036%2F110029249_o.jpg)
/http%3A%2F%2Fstorage.canalblog.com%2F77%2F38%2F791036%2F110029365_o.jpg)
/http%3A%2F%2Fstorage.canalblog.com%2F21%2F89%2F791036%2F109864751_o.jpg)
/https%3A%2F%2Fprofilepics.canalblog.com%2Fprofilepics%2F1%2F2%2F128837.jpg)